

This time, I figured I’d rewind a bit from the last couple of posts, wherein I drove lots of beer a very long way for a very important work party, and change the focus a bit. Now, this is certainly not directly related to the work we do at ModelOp. I mean, I didn’t leverage the massive brainpower of our Data Science team to create an NLP model to troll through every Twitter post about craft brews for the last 6 months to determine the most trendy beer to brew. Nor did I use ModelOp Center to onboard and track a variety of Deeply Beyesian, Gradient-Boosting, Mechanically-Supported, Vector-Neural, Hierarchically-Regressive Nets so I could determine which one of them was the most effective at helping me create the perfect beer recipe.
What did happen is that after Jim and I were asked to brew a beer for our pending relaunch, we put our proverbial heads, and our actual brewing experience, together and decided to brew a Belgian Golden Ale. We did this for a few reasons:
- It’s an easy-drinking beer. We didn’t want to bring 10 gallons of something so hoppy it would blow your palate in one glass, or appeal only to the one lady in the office who’s only drinking cranberry-pumpkin Rauchbiers this month. This was intended to have broad appeal.
- It’s a relatively low-alcohol beer. Not after what happened last time… I’m totally kidding! There’s no story there. Let’s just move right along.
- It’s a beer with a pretty quick brew-to-bottle/keg time. i.e. we didn’t want to brew a barrel-aged stout that we had to lay down for 18 months before we could actually drink it. The Golden Ale ferments quickly at normal ale temperatures, and should have been ready in plenty of time for the road-trip that was brewing (thank you, I’ll see myself out…) in my mind at the time.
With the recipe chosen (AKA: The Hard Part), all that was left was to actually brew the beer (AKA: The Fun Part).
Simple! All that’s necessary is to (trigger warning: bullet points)
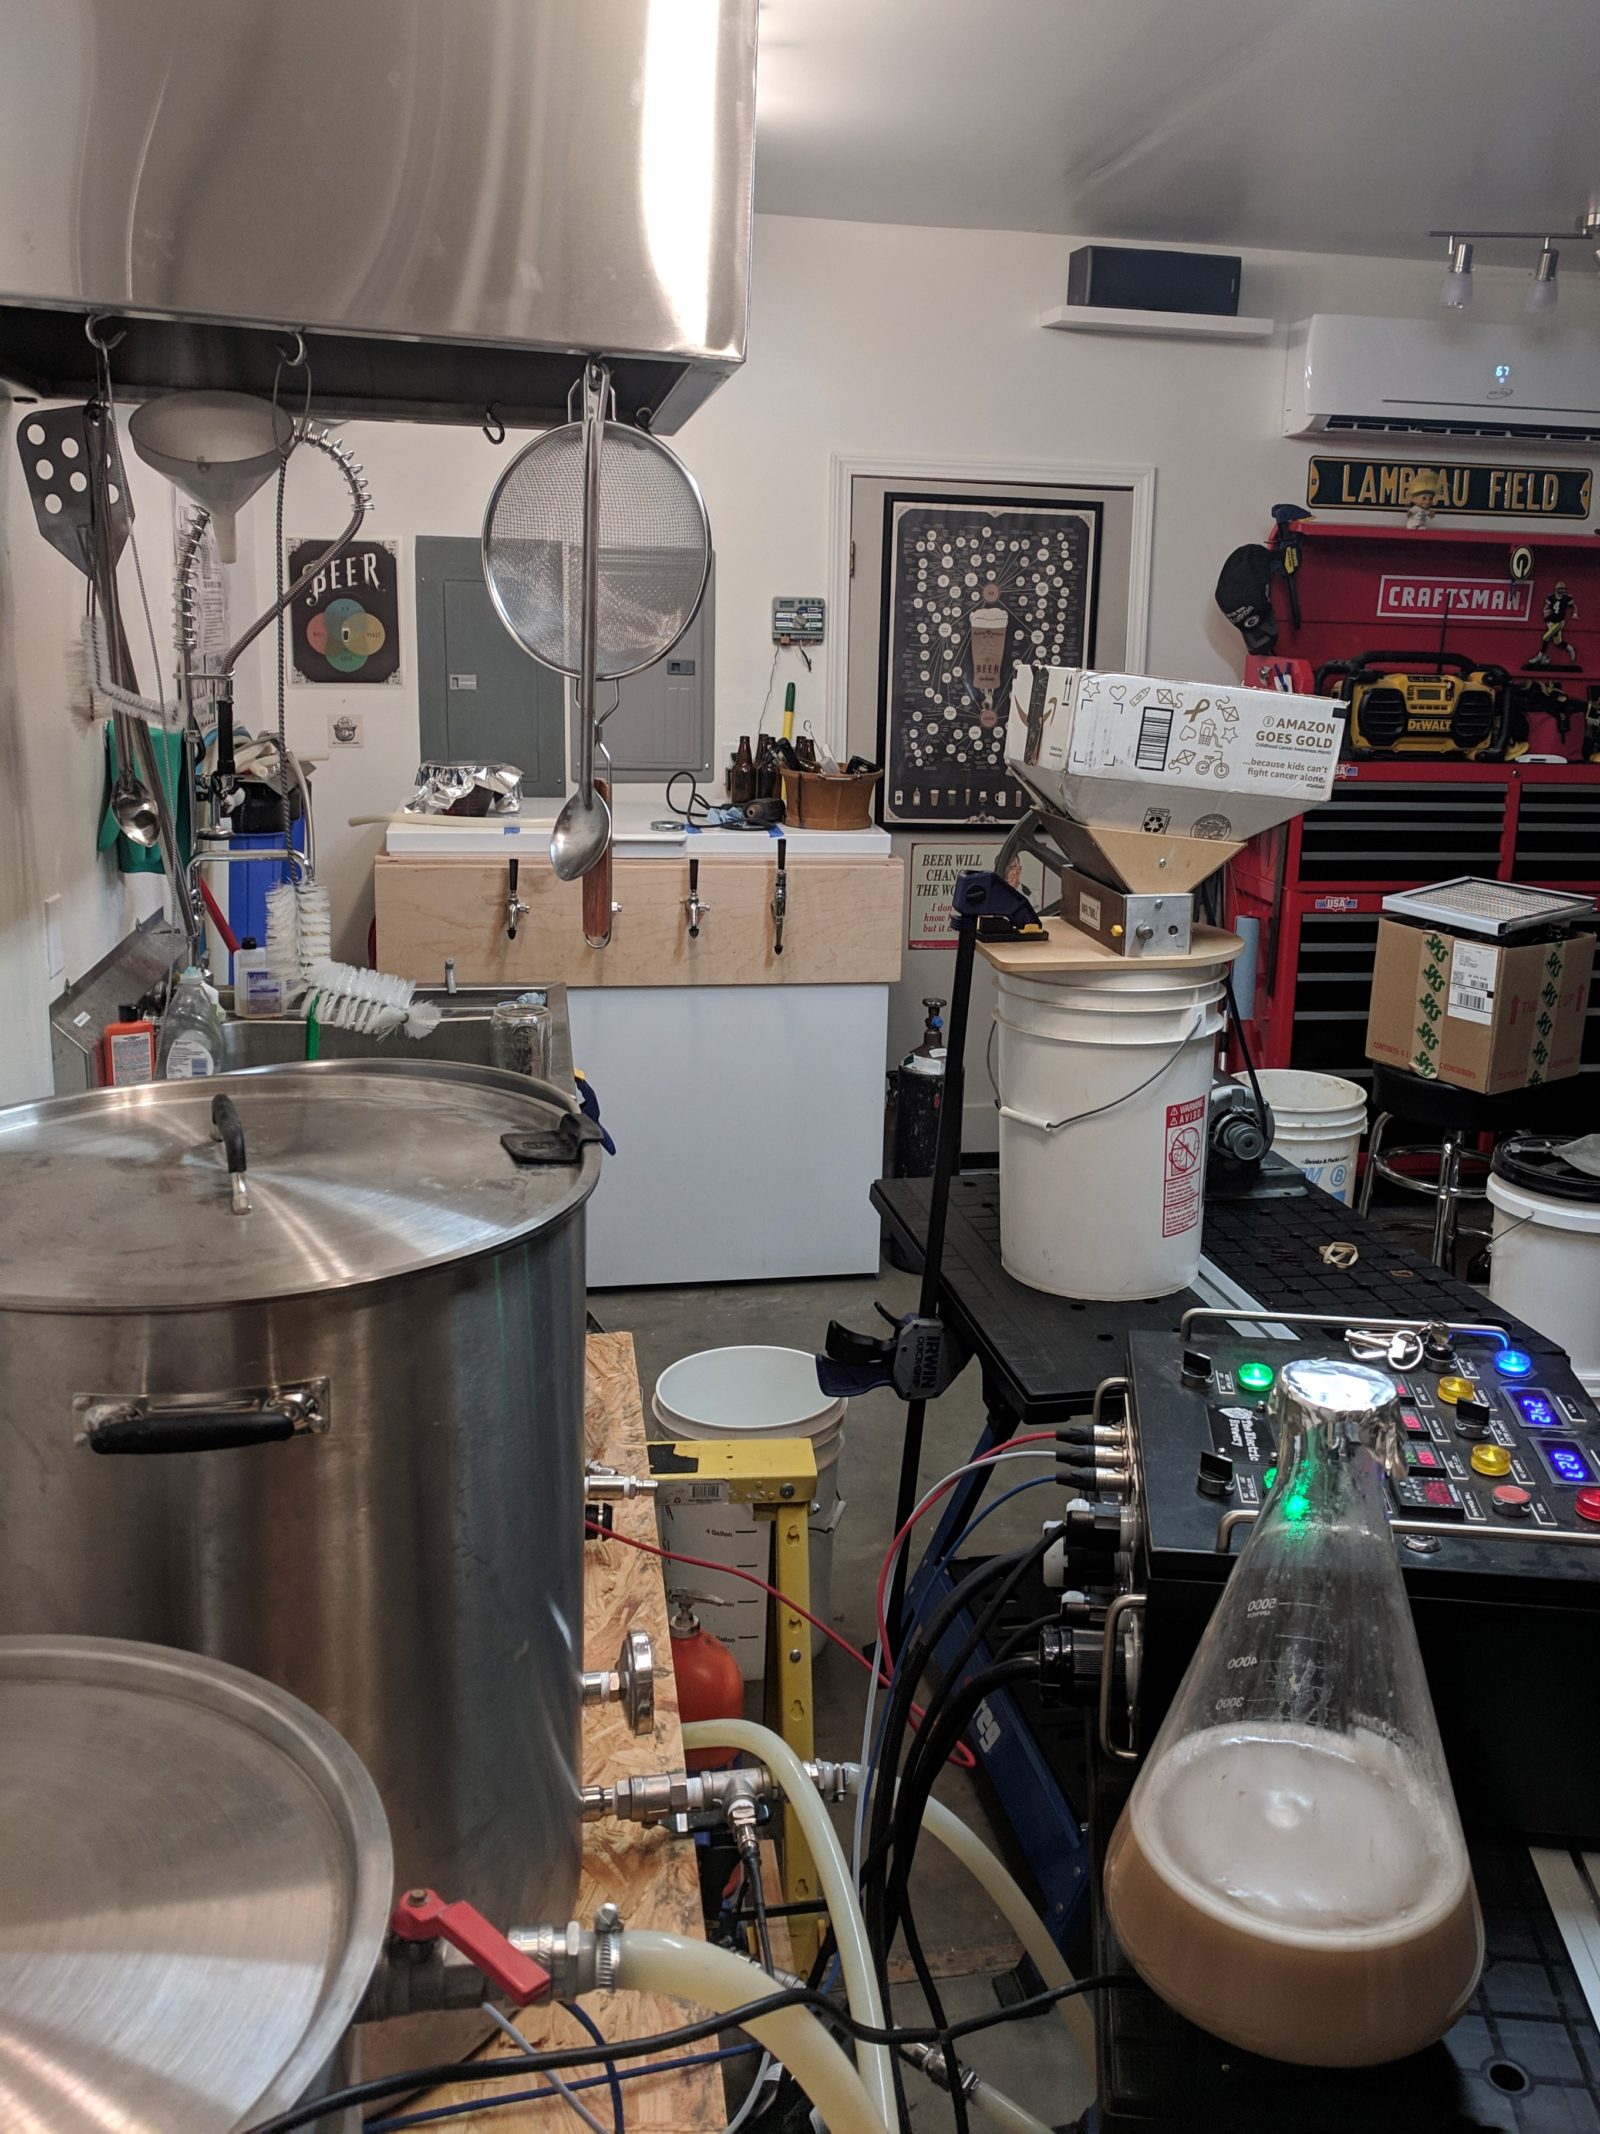 1. Move a bunch of stuff around in my garage, because I haven’t quite finished the final installation of my brewery, which includes:
-
- Setting up a couple of folding project tables, upon which I place:
- My electronic brewery control panel (super fun project putting that together, maybe a post for another time)
- My malt mill, powered by a ½ HP motor, stepped down to reasonable grind-speed with a large flywheel, clamped to the table because hey, I’ve got the clamps, and topped with my patented Incredibly Professional Malt Hopper, crafted from an Amazon box and some backing tape
- Setting up a couple of folding project tables, upon which I place:
 2. Fill the HLT (Hot Liquor Tank; the smaller one on the left) until it’s full
-
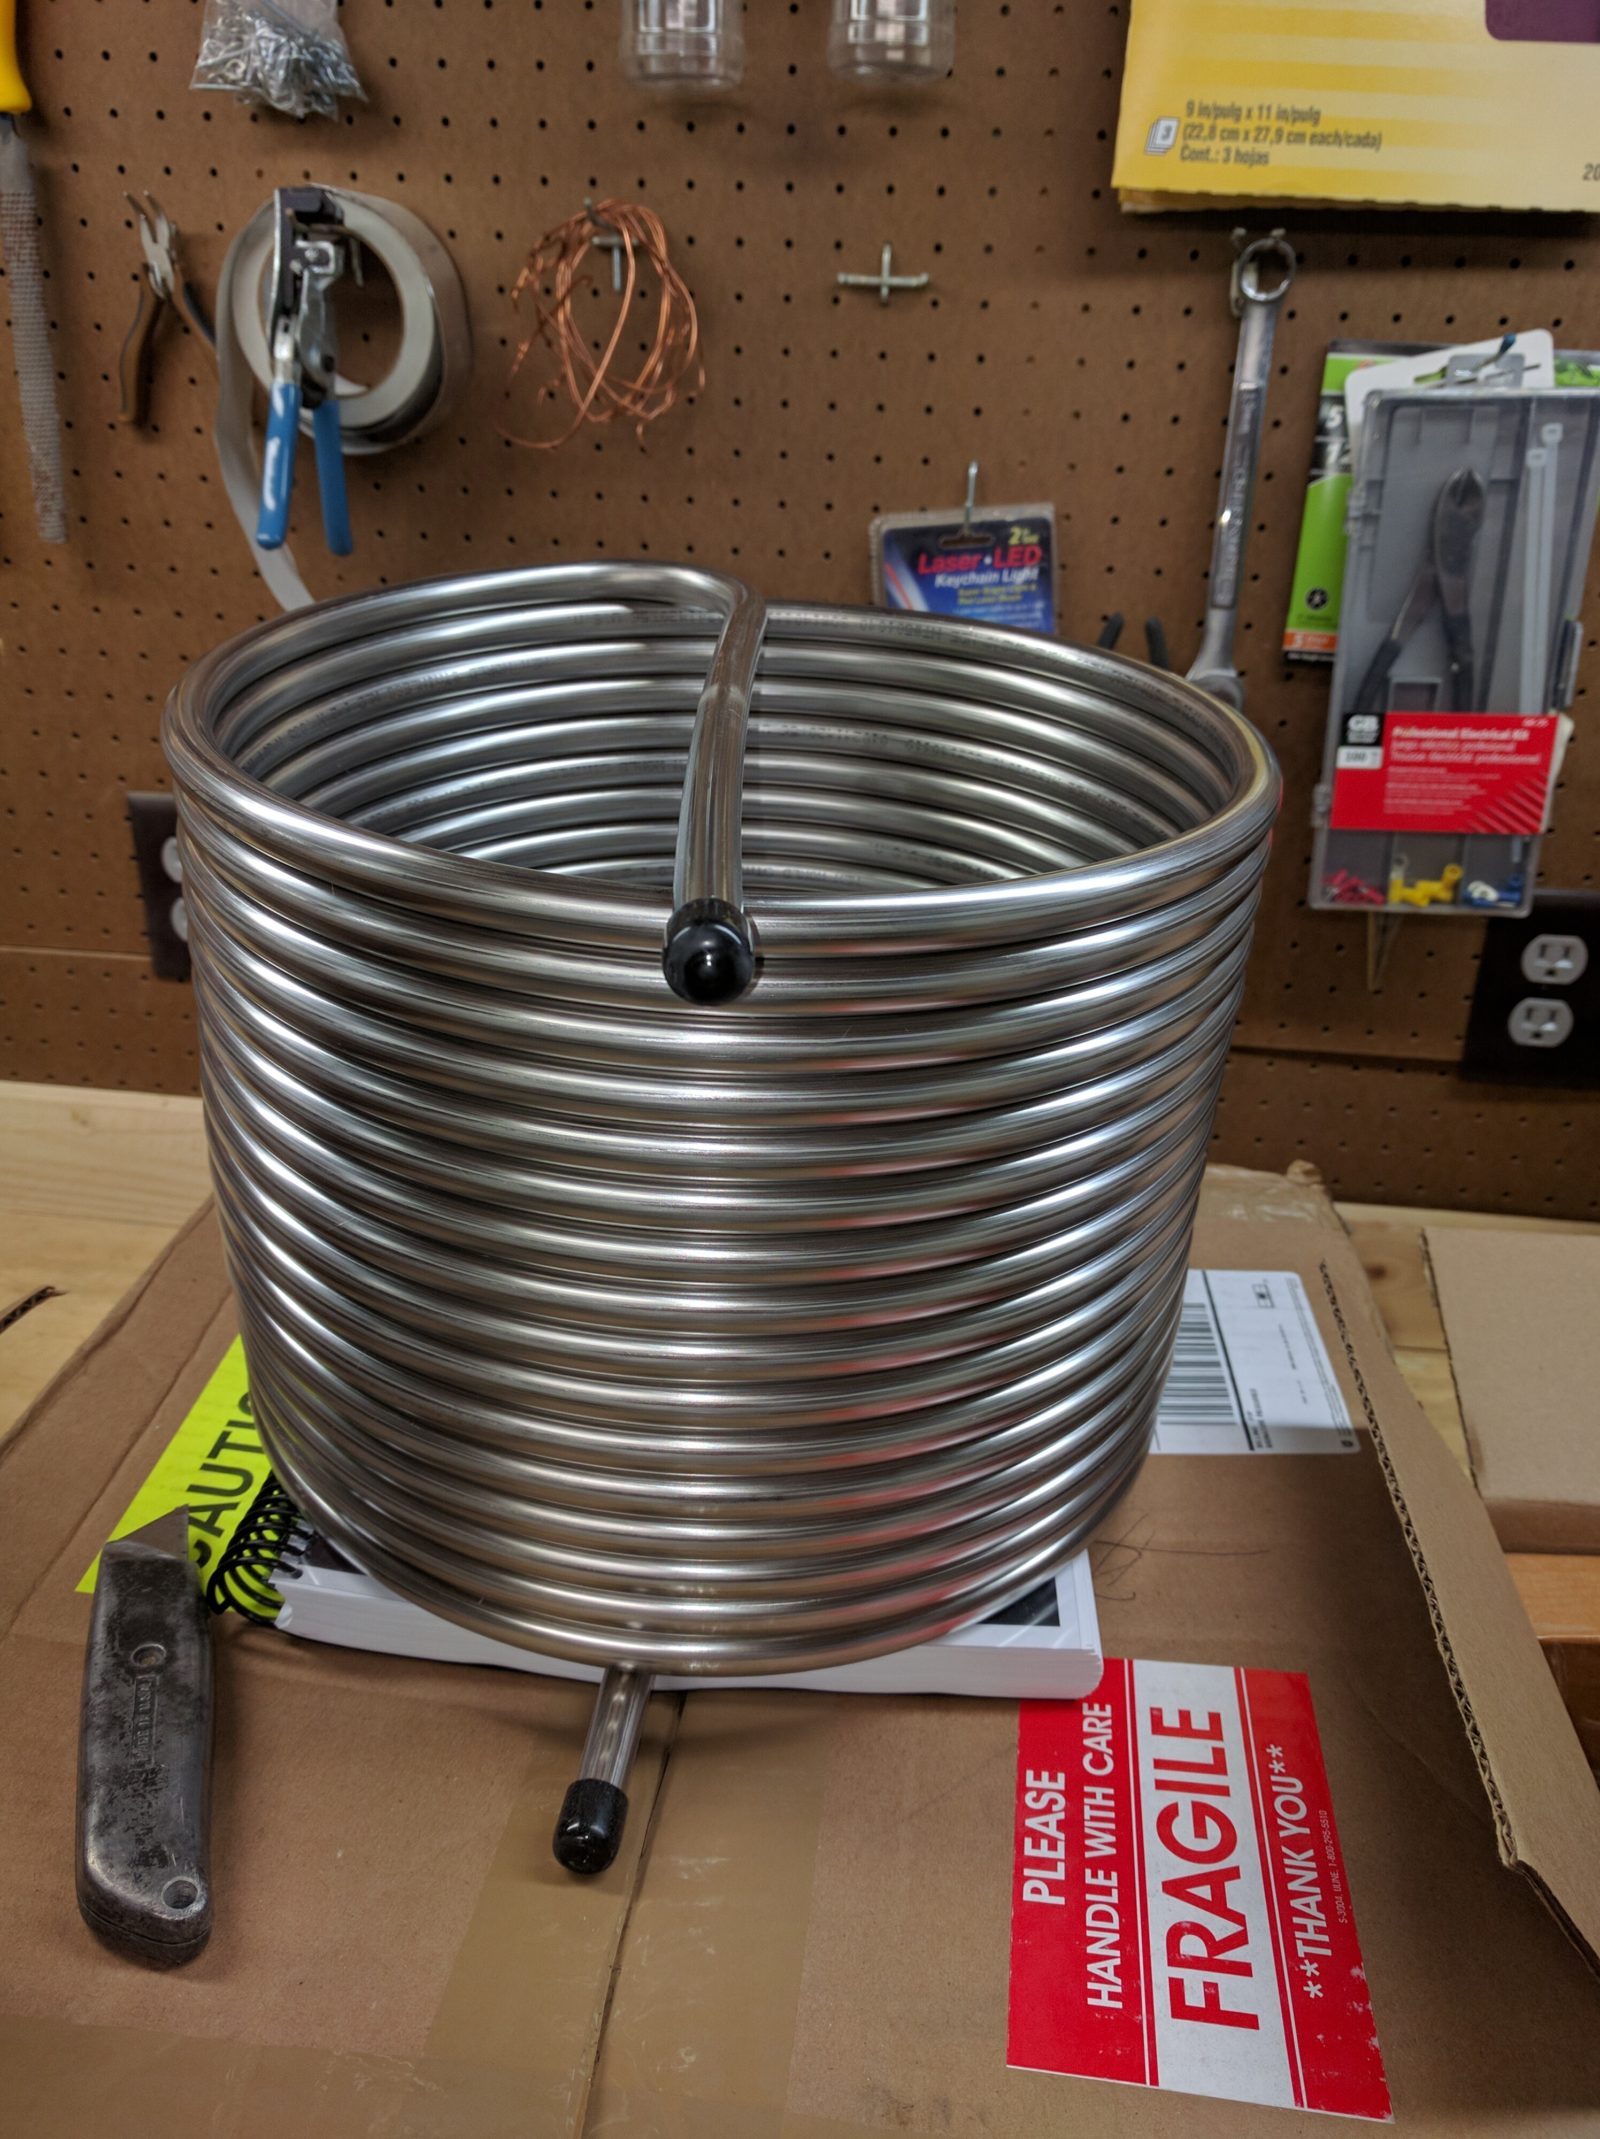
- This one is 15 gallons, less the volume of the heat-exchange coil inside to provide enough hot liquid to eventually be used to heat up the mash, and to provide sparge water. Just go with me on all these words.
- Also, “liquor” in this case is just a name of art. There’s no ‘liquor’ in the traditional sense here, it’s just what they call brewing water. I know. Weird.
3. Fill the MLT (Mash Lauter Tun, the big kettle in the middle) with the appropriate amount of mash water
-
- in this case: 33.63 quarts
4. Get the yeast starter rehydrated and on the stir plate
-
- This recipe uses rehydrated dried yeast, which provides a very thorough fermentation, and requires less pre-work than a liquid yeast, although let’s not get into all that right here – there’s a long way to go yet
5. Hook up my recirculation pumps to the various inputs/outputs for the HERMS setup
-
- Heat Exchanged Recirculating Mash System
- I’m suddenly realizing that there’s a lot of jargon and detail to this stuff
- Let’s not worry about it too much; there’s beer at the end!
6. Hook up the temperature probes on the various pieces into the control panel, so it has something to control
7. Start the HERMS system, aiming at a mash temperature of 152 degrees
-
- This actually means I have to start it at 162 degrees, in order to account for the heat loss when I add the room-temperature malt
- “Malt”, by the way, is what we call the germinated-then-dried barley (and sometimes wheat/rye/spalt/etc., but mostly barley) that we use to provide the sweet, delicious sugar to our hungry yeast, which through the magic of both aerobic and anaerobic fermentation, eventually leads to ethanol!
- Wow. Calm down Ms. Frizzle.
8. While that’s going, weigh out and grind down the malt. In this case, that’s:
-
- 12 ½ pounds German 2-row Pilsner
- 5 pounds Gelgian 2-row Pilsner
- 3 ½ pounds Maris Otter (A British base malt)
- 1 ½ pounds Caravienne
- ½ pound Victory
9. Mash in
-
- This just means “dump the ground-up malt into the mash water once it’s at temperature”
10. While we’re waiting for the mash to finish, make sure the rest of the components are all cleaned and sanitized. Anything that touches the beer between the boil and the fermenter needs to be sanitized. This includes:
-
- Hoses and fittings
- The wort chiller
- Fermenter
- Oxygen tube and airstone (I oxygenate with a stainless steel airstone attached to a small regulator)
11. Once the mash has finished (about an hour in my case), start the Lauter
-
- This just means “rinse out the grain into the boil kettle”
- You do this with “Sparge water” from the “Hot Liquor Tank”
- I know! It’s ridiculous!
- This requires some refactoring of the various hose connections to the pumps, but is usually accomplished with a minimum of 150+ degree wort (which is what you call beer before it’s beer) all over myself and the floor. Usually.
12. This results in a bunch of wort in the boil kettle, ready to be boiled
-
- In this case: 15.16 gallons
13. Just before the wort is boiling, add a few drops of silicone-based anti-foam
-
- Just trust me on this one. You do not want 15+ gallons of 212-degree sugar-water pouring down over everything in the vicinity.
14. Start the timer, and pour in your initial hop addition
-
- In this case: 4oz of East Kent Goldings (a classic English-style hop)
- Hop additions
15. Boil for a while, while trying to remember what part of this you forgot to do right this time
-
- Oh yeah! That’s what it was. You want to take a pre-boil gravity reading
- “Gravity” in this case essentially means “density”. It’s a measure of how much sugar is dissolved in the wort. Brewers use it as a gauge to tell, among other things, how much alcohol will likely be created from the fermentation
- Oh yeah! Remember to set up the wort chiller
- Get the cold water hose hooked up, and the hose leading from the chiller into the fermenter
- Oh yeah! That’s what it was. You want to take a pre-boil gravity reading
16. Add some Irish Moss 10 minutes before the boil is done
-
- This is a “fining” ingredient; it’s intended to help produce a more clear beer (although we’ll do some stuff later to cloud it back up again)
17. Right at the end of the boil, (“Flame-out”, even though we’re using electric heating elements in this case), add our last hop addition
-
- In this case: 1oz of Saaz, a traditional “Noble” hop variety
18. “Whirlpool” the hot wort
-
- In my case, this just means “stir the thing around a bunch in the same direction”
- This is done to help settle out the suspended hops and other various solids in the beer into the center of the boil kettle, which helps keep the wort chiller free from debris
19. Chill the wort into the fermenter
-
- This is also accomplished via a refactoring of the hoses and pumps
20. Once the fermenter is full, oxygenate for 2 minutes at 1L per minute
-
- This is done to give the about-to-be-pitched yeast a nice environment in which to reproduce
21. Pitch the yeast from your starter
-
- Please try to remember to take the magnetic stir rod out first
- “Pitch” in this case just means “pour”. Crazy brewers.
22. Put the airlock on the fermenter
-
- In my case, this is a blow-off hose, hooked up to a bucket under the fermenter
23. Clean everything up
- … The Aristocrats!
24. If this joke makes it through the editing process, I’ll be pretty sure the marketing team is just asleep at this point.
See? That’s not so hard, is it?
After this, of course, is the fermentation, then the kegging/pressurization/bottling process, which – I mean – it’s so simple and intuitive I’m not even going to bother explaining it right now. Mostly because I’m fairly certain that nobody actually made it this far. And secondarily because that’s the part that I actually remembered to take a reasonable amount of pictures, so we get to see what it looks like!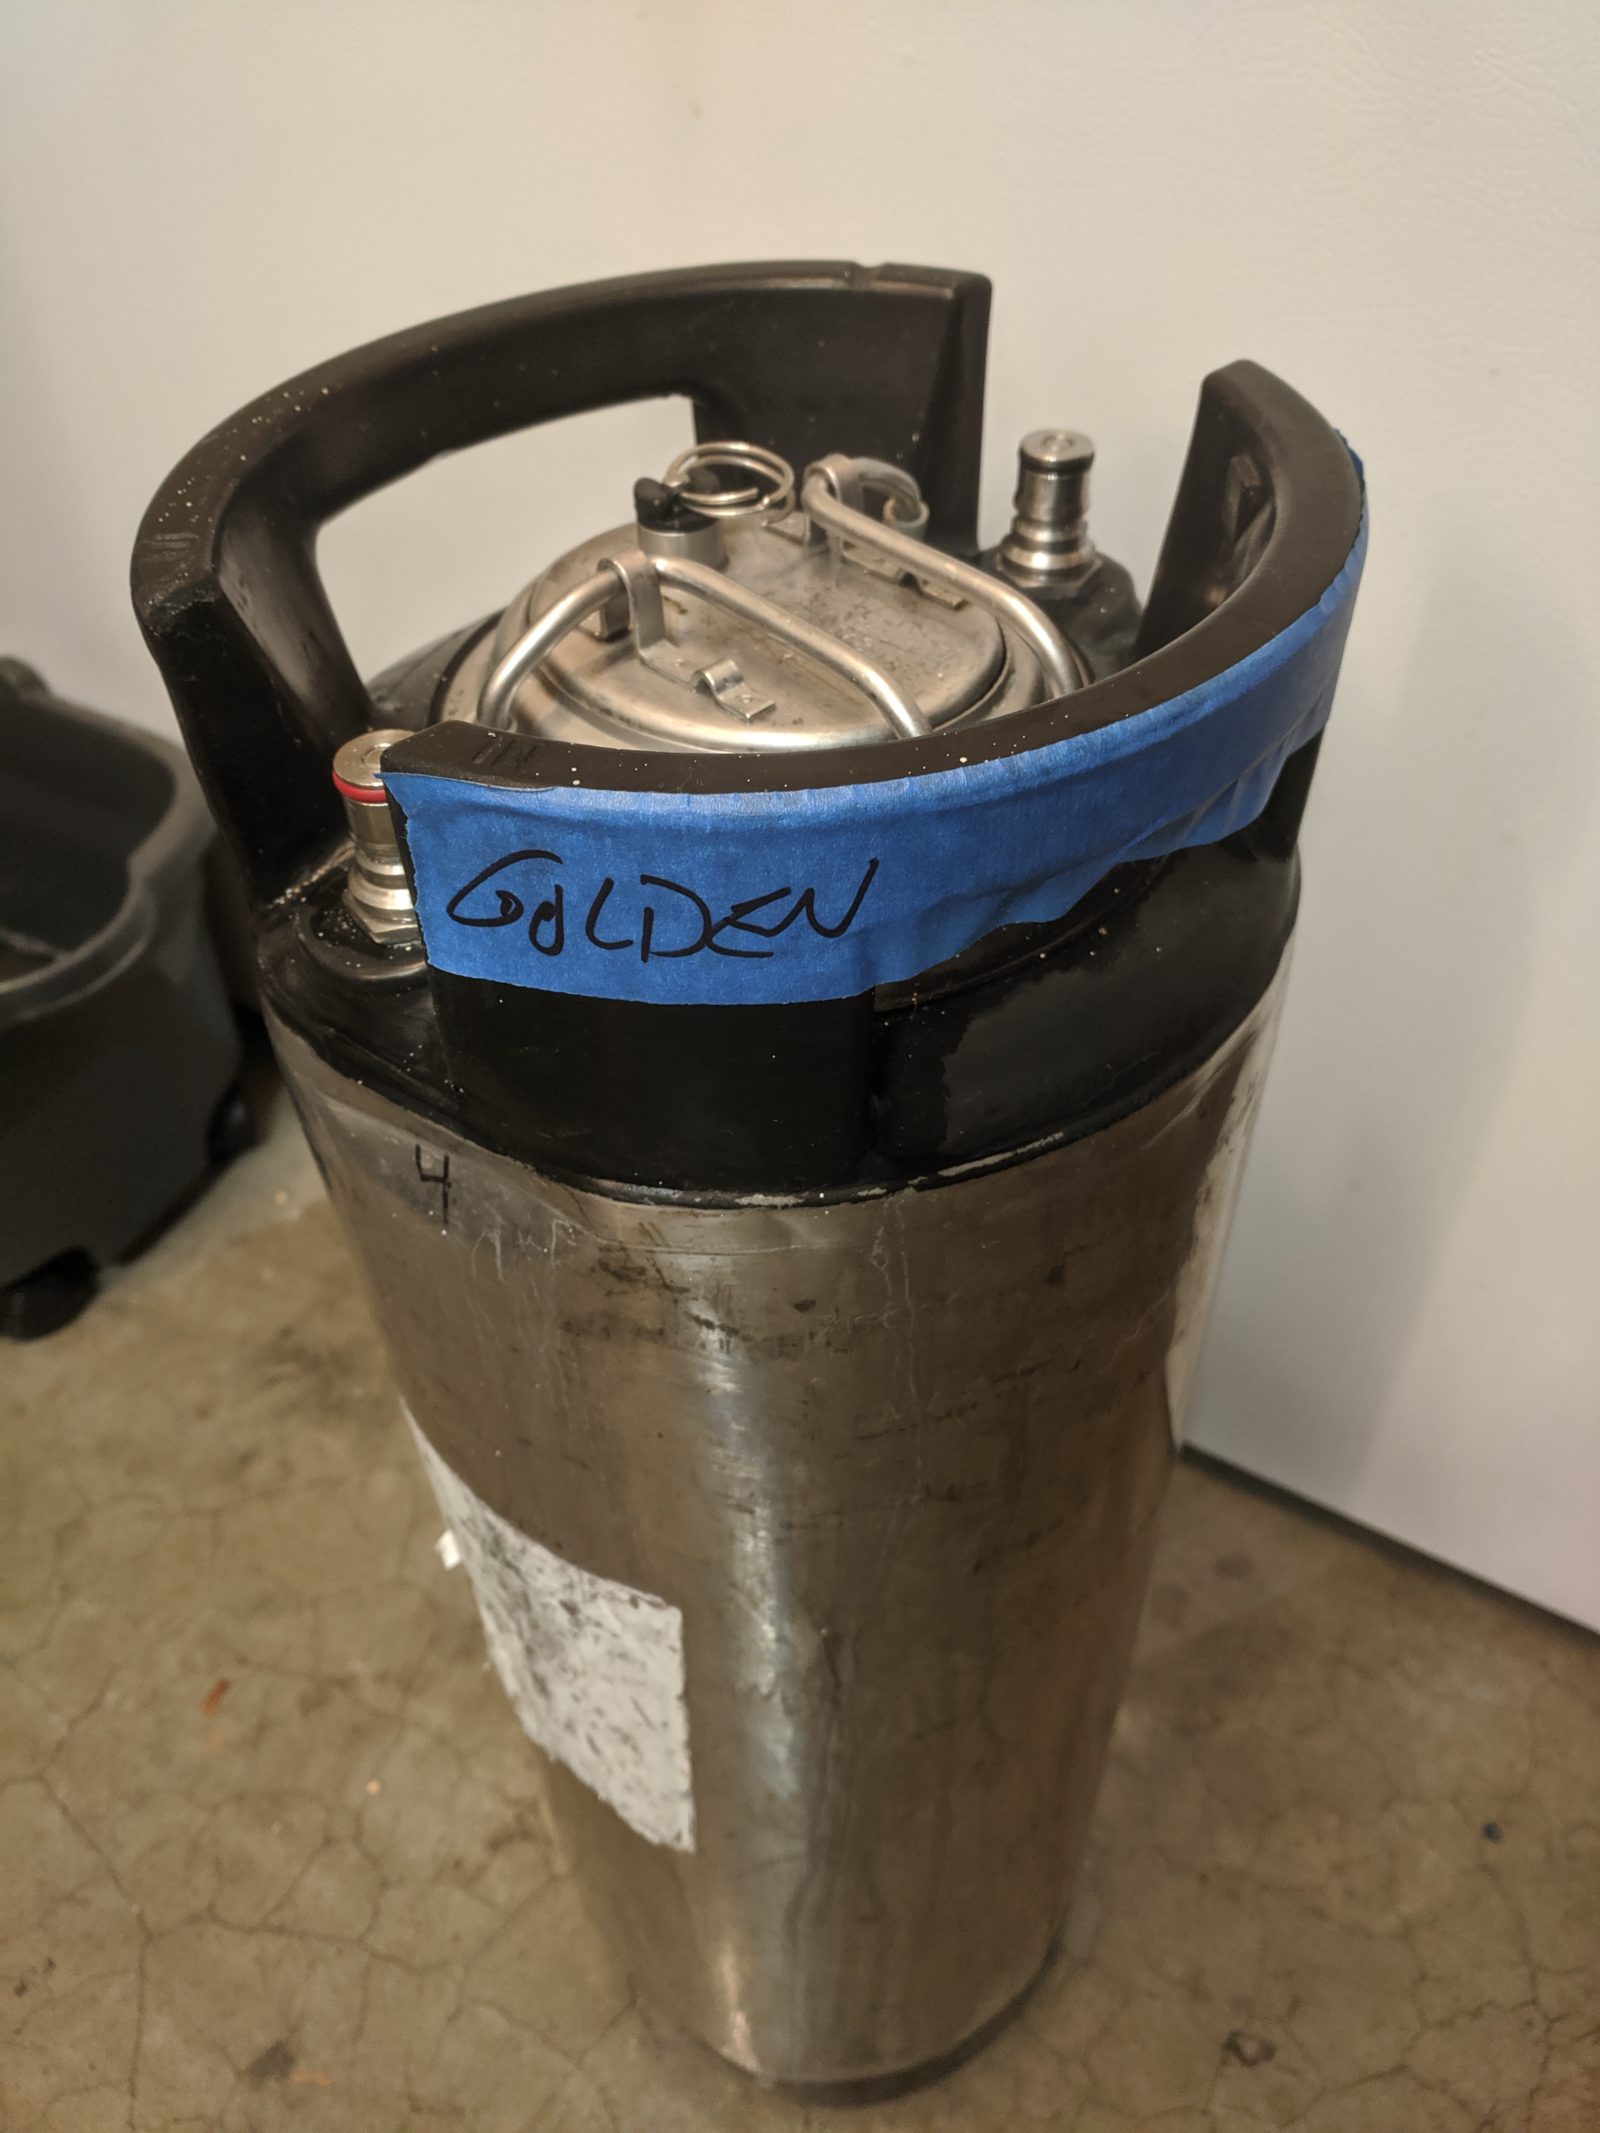
- Test the gravity. This is the most important part, because…
-
You get to drink it after you’re done (don’t worry about the nurse shark. The nurse shark is not what’s important right now)
-
Don’t forget to label everything!
-
Keg it!
-
Hook it up to your CO2 to get it carbonated. Think of it as an enormous Soda Stream
-
When you’re really in a hurry, flipping the keg upside down, then shaking the ever-loving heck out of it is a great way to go
-
Sanitize all your bottles!
-
 Sanitize your Beer Gun!
 -
Sanitize your bottle caps!
-
“Beer Gun” is pretty self-explanatory, I think
-
Cap those bottles!
-
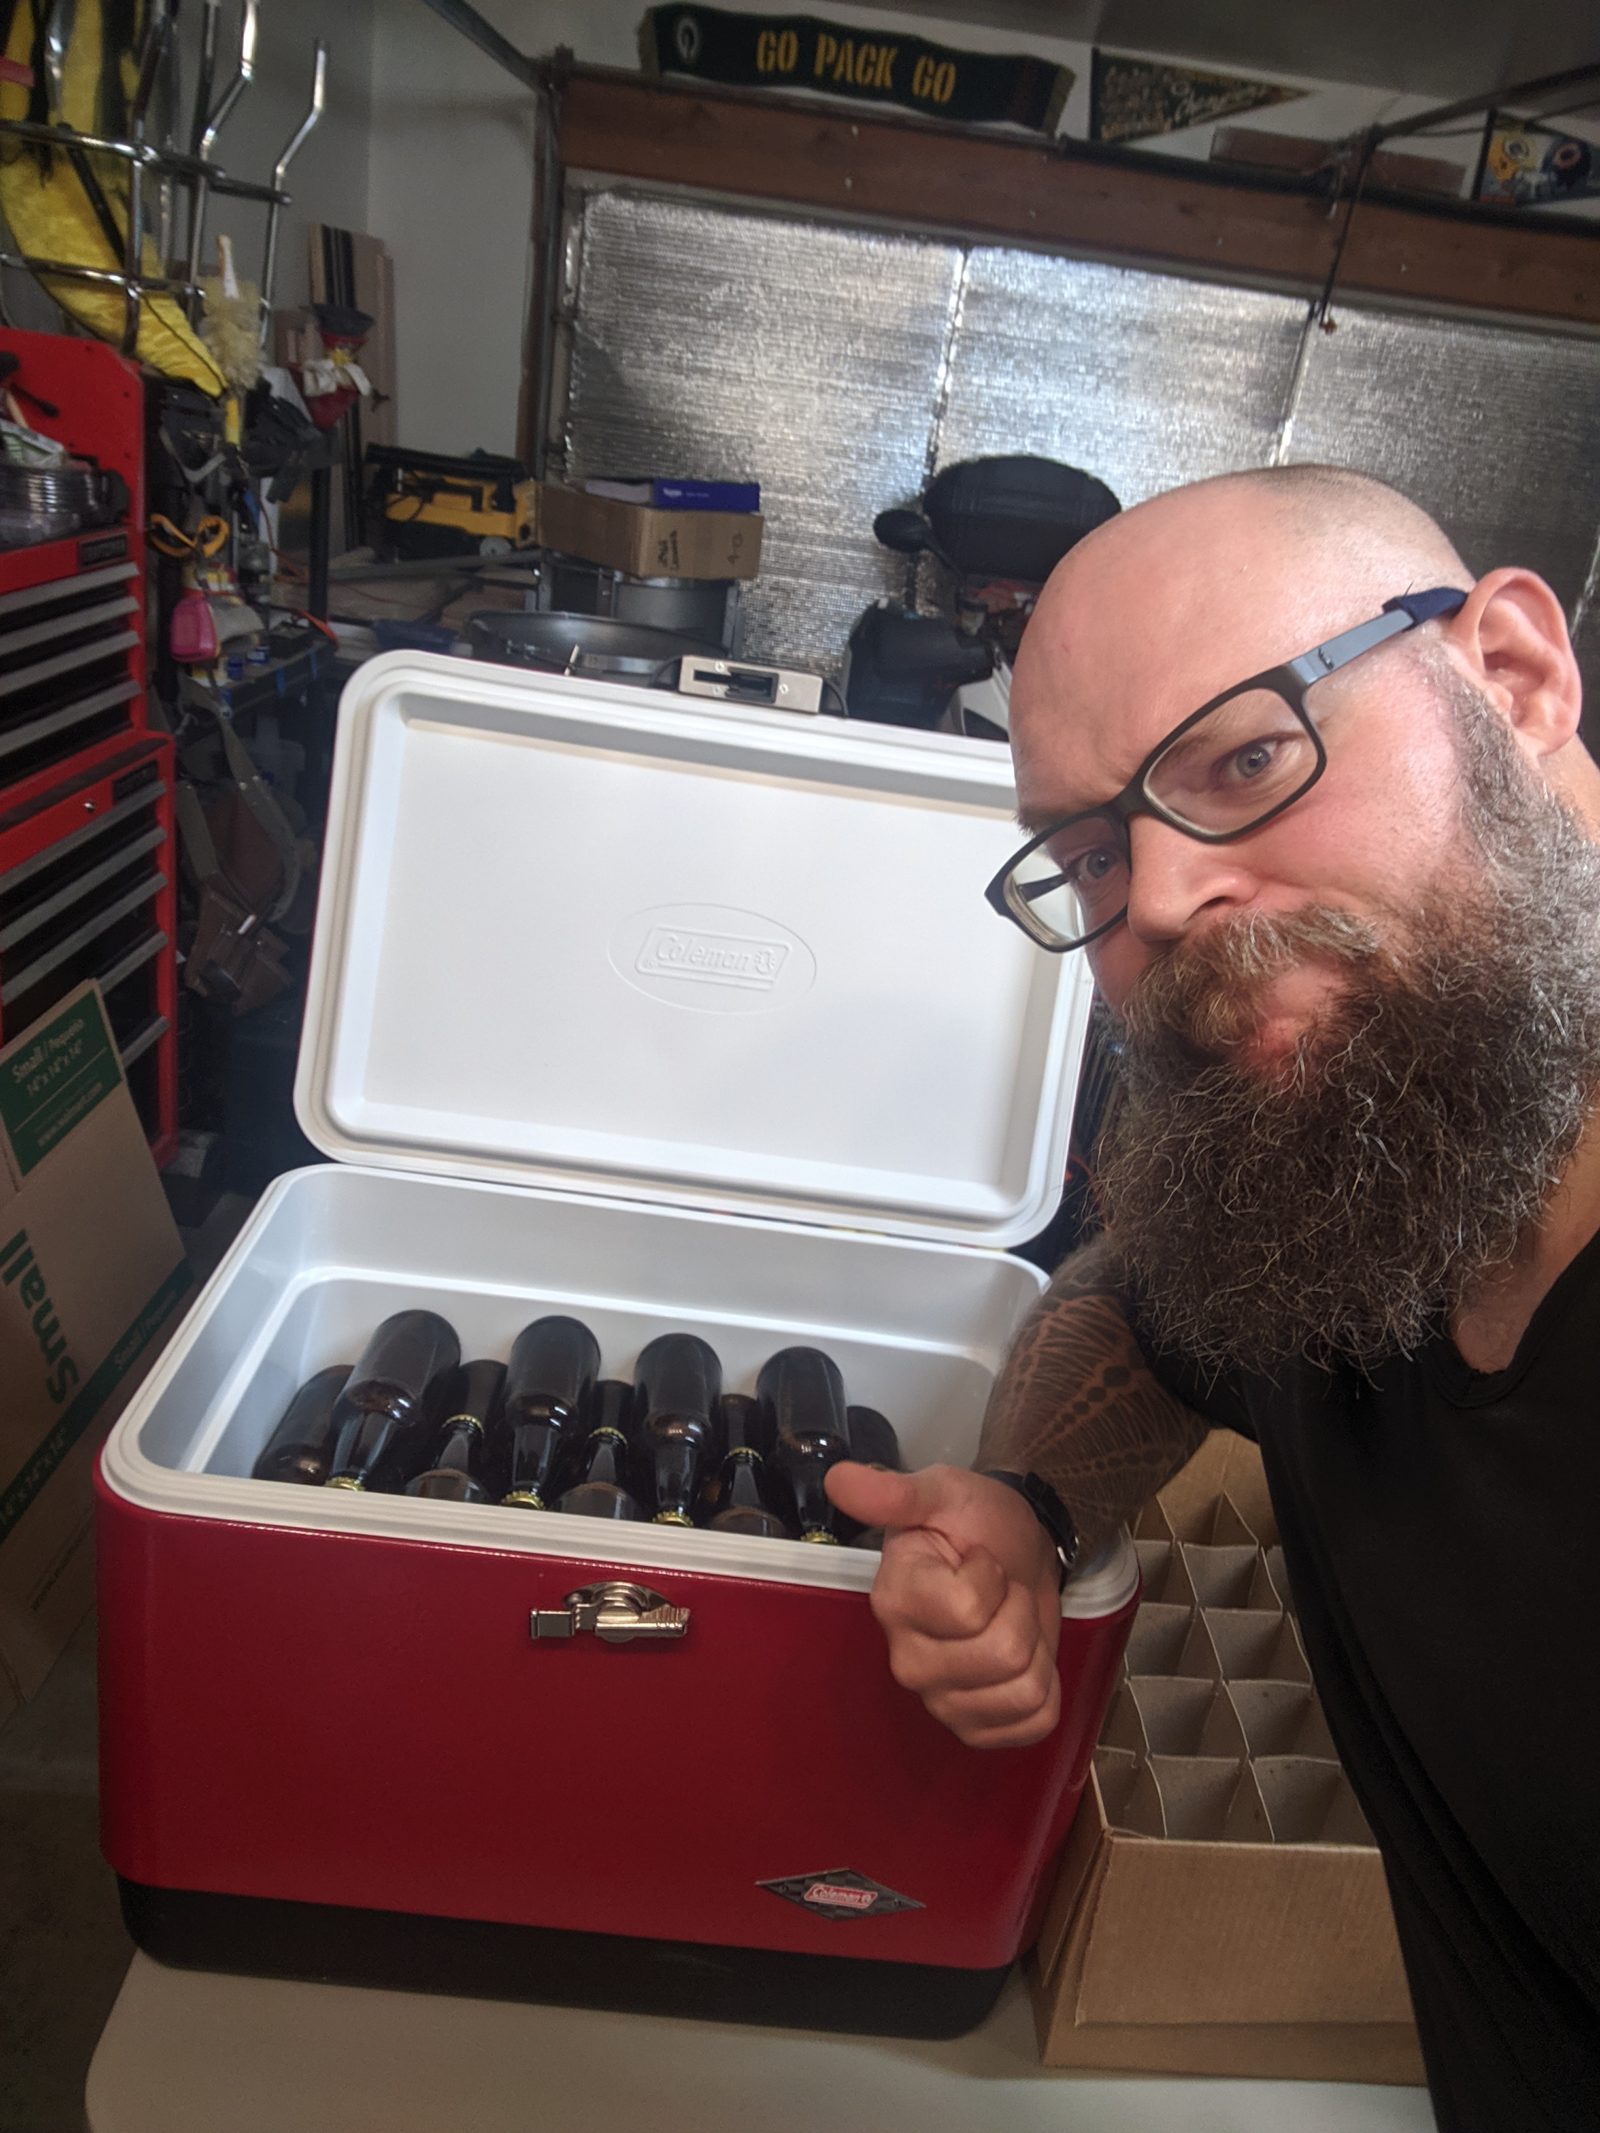
Pack ‘em up for transport, and make a totally normal face while looking slightly off-center to the camera.

After this, basically just go back and read the first two posts in this series and you’re essentially caught up.
- Behind the scenes of ModelOp by our Brewmasters – Part 1
- ModelOp Golden Ale Takes a Holiday – Part 2
 Of course, my day-job is filled with much more interesting things than brewing beer. And in case you’re the kind of person who thinks AI-related engineering tasks and other, non-beer things are interesting, and think working with (or at least in close cultural proximity to the kind of person who would go through all this effort just to have some coworkers say, “Wow! This is great!”): you’re in luck! We’re hiring! Check Out All Openings Here!